Taking a screenshot on Windows 10 can be confusing, because there are multiple ways to do it.
It’s not easy to take a screenshot on Windows 10 if you don’t know how to do it. You might end up taking a picture of your entire screen, or just part of it.
Edon Lazaj is here to show you how to take a screenshot on Windows 10 the right way. In this guide, we’ll walk you through the different ways to take screenshots and show you how each one works.

How to screenshot on Windows 10? Top 9 best ways:
In this article, we’ll walk you through nine ways to screenshot on Windows 10. We’ll also show you how to take a scrolling screenshot, which is perfect for capturing long web pages or documents.
Snip & Sketch
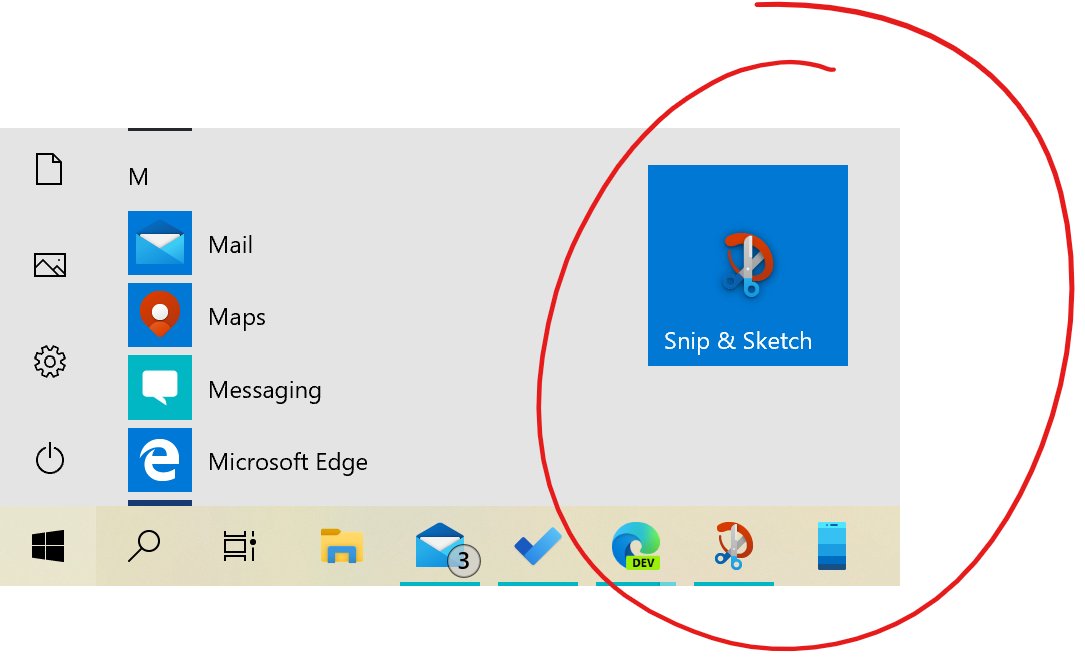
This is a new app that comes with the Windows 10 October 2018 Update. It provides a simple way to take screenshots, personalize them, and share with others.
Here’s how to take a screenshot on your PC with this new app.
- Open Snip & Sketch. You can find it by searching in the Start menu.
- Press the New button to start taking a screenshot. This will open up the snipping bar at the top of your screen.
- Choose the kind of screenshot you want to take. You can choose between a rectangular snip, a freeform snip, or an entire screen snip. To cancel taking the screenshot, press Esc.
- Once you’ve made your selection, the screenshot will be taken and saved to your clipboard.
- Open Snip & Sketch again and press the New button. This time, choose Paste image from clipboard.
- The image will appear in Snip & Sketch. Here you can annotate it, crop it, or do anything else you need to before saving or sharing.
- To save the screenshot, press the Save icon in the upper-right corner. Choose where you want to save it and press Save.
- To share the screenshot, press the Share icon. You’ll be able to share it via email, social media, or another app on your PC.
With these Snip & Skitch options, you can choose how you’d like to take a screenshot:
| Mode | Function |
| Rectangular | Size a rectangle for your screenshot. |
| Free-form | Draw free-hand with your cursor. |
| Window | Choose a specific window to capture. |
| Full-screen | Grab an image of your entire screen. |
But the next way will definitely help you work faster, let’s see screenshots by Snipping Tool
Snipping Tool

Windows 10 also includes the Snipping Tool, which has been around since Windows Vista. This tool can take screenshots of an open window, rectangular area, or freeform area.
Here’s how to take a screenshot using the Snipping Tool:
- Open the Snipping Tool by searching for it in the Start menu.
- Press the New button to start taking a screenshot. This will open up the snipping bar at the top of your screen.
- Choose the kind of screenshot you want to take. You can choose between a rectangular snip, a freeform snip, or an entire screen snip. To cancel taking the screenshot, press Esc.
- Once you’ve made your selection, the screenshot will be taken and opened in the Snipping Tool.
- To save the screenshot, press the Save icon. Choose where you want to save it and press Save.
- To share the screenshot, press the Share icon. You’ll be able to share it via email, social media, or another app on your PC.
- To annotate the screenshot, press the pen icon and choose the color you want to use. Then start drawing on the screenshot.
- To crop the screenshot, press the Crop icon and select the area you want to keep. Then press Enter to crop it.
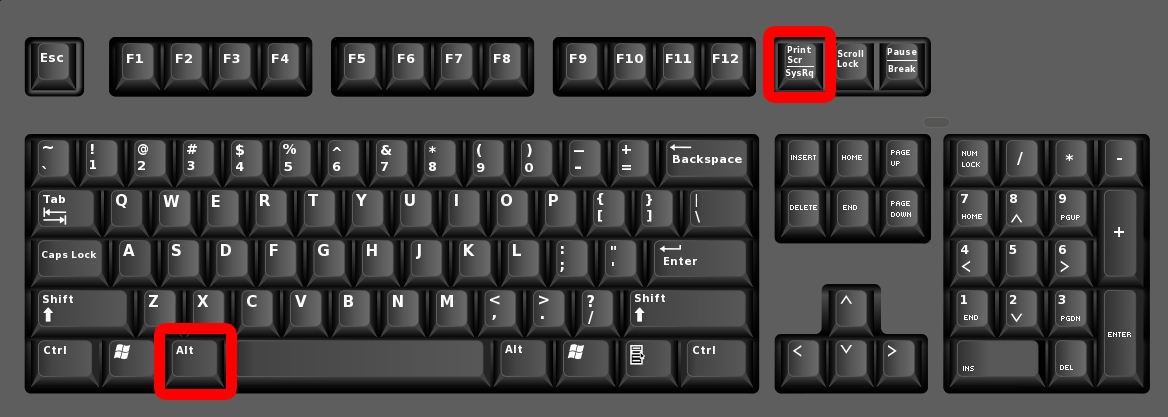
Press Print Screen

If you just want to take a screenshot and save it as an image file without any annotations or editing, you can just press the Print Screen key on your keyboard. This will take a screenshot of your entire screen and save it to your clipboard.
- Press the Print Screen key on your keyboard. This is usually located near the top-right corner of your keyboard.
- Open an image editing program like Paint or Photoshop.
- Press Ctrl+V to paste in the screenshot.
- Save the file by pressing Ctrl+S. Choose where you want to save it and press Save.
Press the Windows Key + Print Screen
This shortcut will take a screenshot of your entire screen and automatically save it as a PNG file in the Screenshots folder in your Pictures folder.
- Press the Windows key + Print Screen key on your keyboard.
- You’ll see a notification that says Screenshot saved.
- To find your screenshot, go to the Pictures > Screenshots folder.
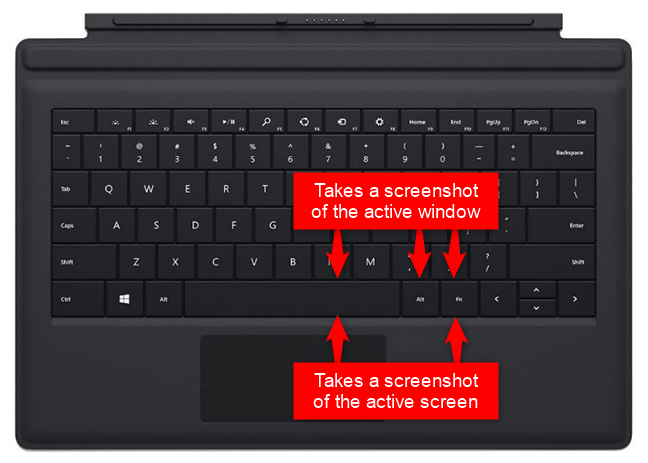
Press the Alt Key + Print Screen
This shortcut will take a screenshot of the active window and save it to your clipboard.
- Press the Alt key + Print Screen key on your keyboard.
- Open an image editing program like Paint or Photoshop.
- Press Ctrl+V to paste in the screenshot.
- Save the file by pressing Ctrl+S. Choose where you want to save it and press Save.
Press the Game Bar
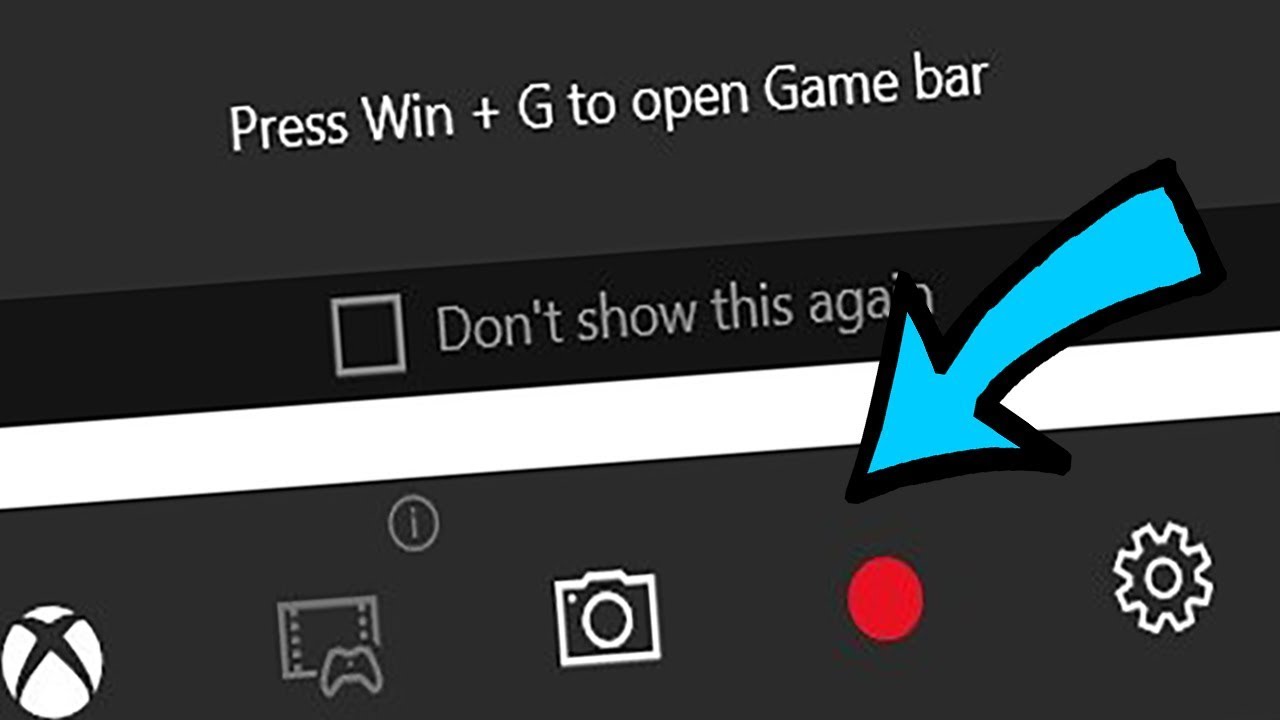
If you’re using Windows 10 and playing a game, you can take screenshots of the game by pressing the Windows key + G key. This will open the Game bar, which you can use to take screenshots.
- Press the Windows key + G key on your keyboard to open the Game bar.
- Click on the screenshot icon to take a screenshot.
- The screenshot will be saved in your Videos > Captures folder.
Press the Windows Logo + Volume Down
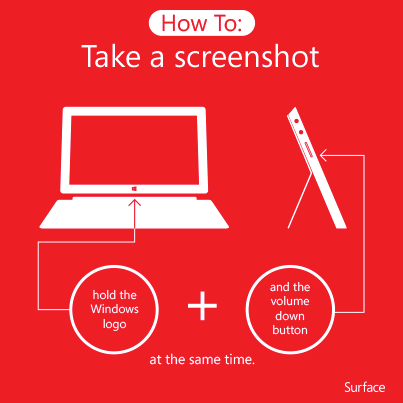
This shortcut will take a screenshot of your entire screen and save it as a PNG file to your Pictures > Screenshots folder.
- Press the Windows logo key + Volume down key on your keyboard.
- You’ll see a notification that says Screenshot saved.
- To find your screenshot, go to the Pictures > Screenshots folder.
Alternative snapshot applications for Microsoft Windows
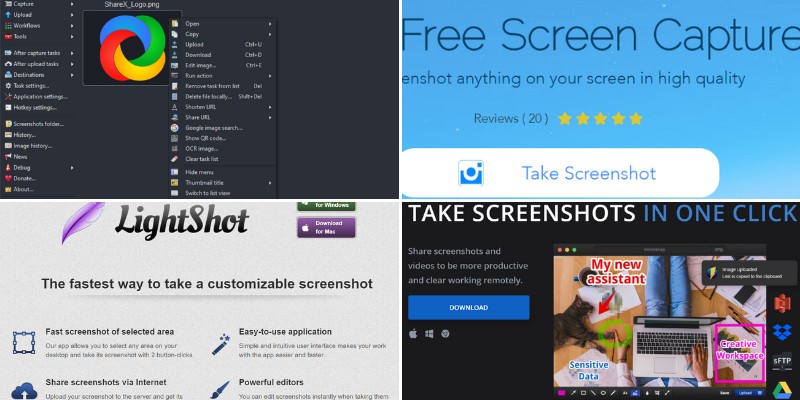
In addition to the Snipping Tool, there are a few other screenshot applications you can use on Windows.
LightShot is a free screenshot application that lets you take screenshots of your entire screen or just a selected area. You can also edit and annotate your screenshots before saving them.
Greenshot is another free screenshot application that offers more features than the Snipping Tool, such as the ability to annotate and highlight your screenshots.
ShareX is a free and open source screenshot application that offers many features, such as the ability to take scrolling screenshots and upload them automatically to an FTP server.
Click and hold on your Surface Pen
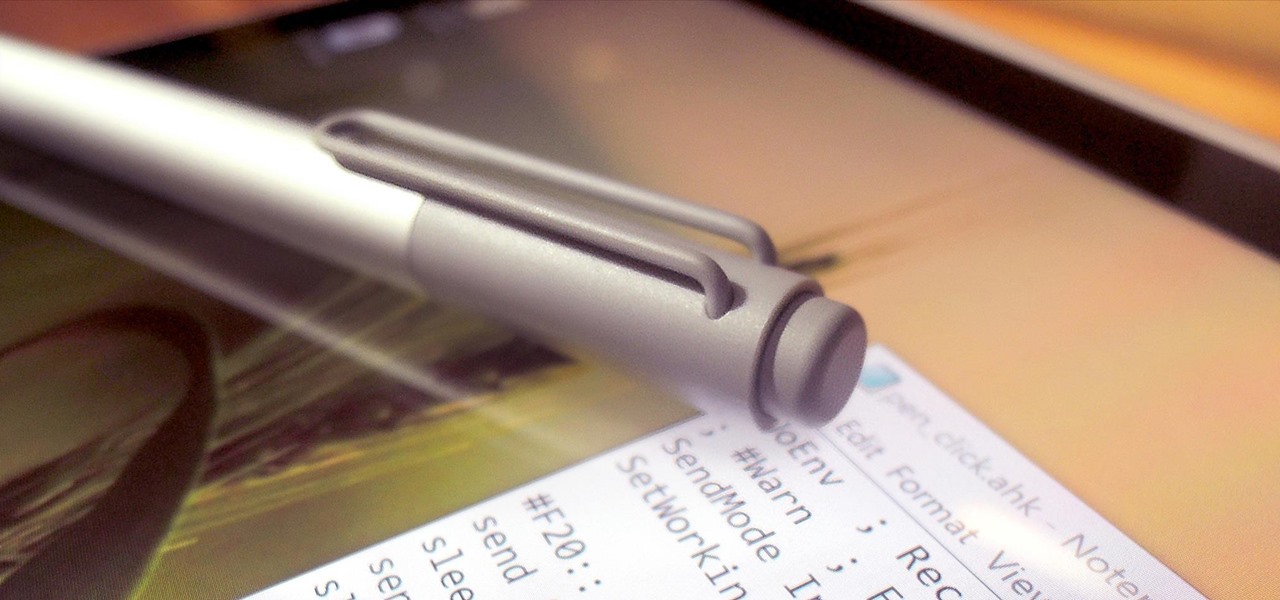
This shortcut will take a screenshot of your current screen and save it in your OneNote notebook.
- Click and hold on the button on your Surface Pen.
- While still holding the button, click on the screen.
- The screenshot will be saved in your OneNote notebook.
How to Take a Screenshot on Any Device
Screenshots are a handy way to save or share images from your device, whether it’s a Capturing a screenshot is a simple process that can be done on any type of device. Here’s how to take a screenshot on your phone, tablet, or computer.
On your phone:
To take a screenshot on an iPhone, simply press and hold the power button and home button at the same time. The screen will flash white, indicating that a screenshot has been taken. On most Android phones, taking a screenshot requires pressing and holding the power button and volume down button simultaneously. Again, the screen will flash to indicate that a screenshot has been captured.
On your tablet:
To take a screenshot on an iPad, press and hold the power button and home button at the same time. On Android tablets, the process is similar to taking a screenshot on an Android phone. Press and hold the power button and volume down button simultaneously to capture a screenshot.
On your computer:
The process for taking a screenshot on your computer depends on the type of operating system you’re using. For Windows users, press the print screen key (often abbreviated as “PrtScn”) to take a full-screen screenshot. The image will
F.A.Q how to screenshot in Win 10
What is the keyboard shortcut in Windows 10 to take a screenshot?
You may be able to utilize the Windows Logo Key in combination with the PrtScn button as a keyboard shortcut for print screen, but this will depend on the hardware you have. If your device does not have the PrtScn button, you may capture a screenshot by pressing the Fn key, the Windows logo key, and the space bar at the same time. The screenshot can then be printed.
How do you capture a screenshot on a PC?
To capture a screenshot of the complete screen, you may do so by pressing the PrtScn button, also known as the Print Scrn button. If you want to capture a snapshot of your full screen while using Windows, you may do so by hitting the Print Screen button, which is situated in the upper right corner of the keyboard. Hitting this button effectively copies a picture of the screen to the clipboard.
How can I capture a screenshot in Windows 10 if the Print Screen button is not available?
To access the screenshot application from any location, just hit the Win key plus the Shift key and the S key simultaneously. Screenshots may be captured, edited, and saved with ease with this method, eliminating the need to use the Print Screen option.
Why does the Windows shift-s key combination not work?
You can also try resetting Snip & Sketch to see if it might repair the issue message “Win Shift S is not functioning” that appears in Windows 10. To access the Windows Settings screen, choose Start > Settings from the menu bar. Tap the “Apps” menu, then choose “Apps & features.” In the right window, choose Snip & Sketch, and then select the link labeled Advanced Options.
Conclusion
In this blog post, we’ve shown you various methods to take a screenshot on Windows 10. We hope one of these methods works for you and that you find our tutorial helpful. If you have any questions or feedback, please don’t hesitate to reach out to us in the comments section below. Thanks for reading!